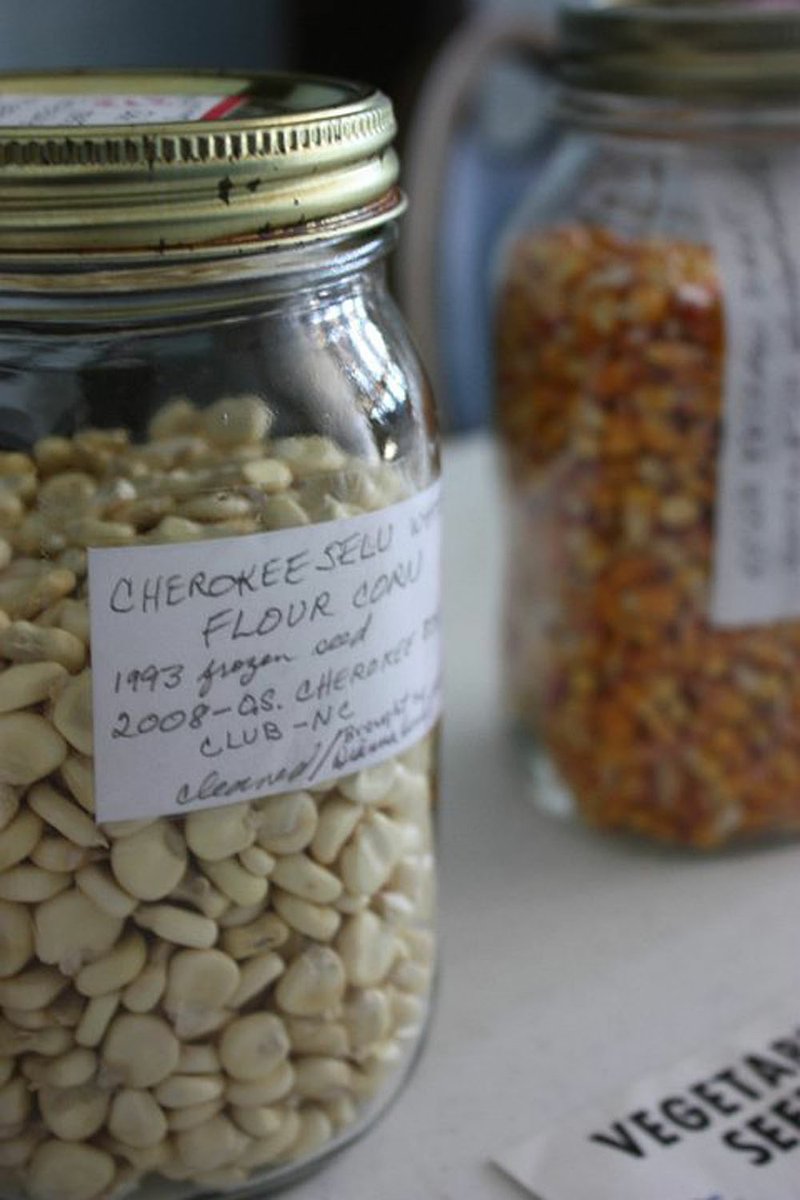
LITTLE ROCK — Seed saving can be simple or complex depending on the type you’re trying to stockpile. Beans and peas, for example, are the easiest seeds to save. Gathering the seeds of tomatoes, cucumbers and eggplants is a more involved process.
The basic steps apply to most plants.
Pick favorites.
First decide what seeds you will save. Don’t bother to save seeds from hybrid plants because they will not grow “true” the following year. This means the offspring plant will likely look and taste nothing like the original.
Plant extra.
No matter what you’re planning to propagate from seed next year, you will need to plant a surplus of that plant this year because the fruit (or vegetable) that acts as the seed-donor can’t be eaten.
Don’t be cross.
Prevent cross-pollination of plants from which you plan to gather seeds. Cross-pollination, eithe rby bees or by pollen carried on the wind, will produce plants that don’t match their parent plant. Set up cages around the plants from which you wish to gather seeds, or wrap the flowers with a light cloth to keep unwanted pollen out.
Squash, gourds and pumpkins can cross-pollinate with one another, so they cannot be in close proximity.
Plants like carrots and corn may also be pollinated by hand to prevent contamination.
Some plants - most notably some bean varieties - are self-pollinating, so cross-pollination isn’t an issue, which is another good reason to start with beans.
If you and your neighbors are not growing vegetables in the same family, you probably don’t need to worry about cross-pollination. The Complete Guide to Saving Seeds by Robert Gough and Cheryl Moore-Gough offers an extensive list of tips for avoiding cross-pollination and for pollinating plants.
Wait, and wait some more.
Biding your time and letting the plants “go to seed” may be the most difficult part of the whole process. Gough and Moore-Gough point out that in some plants there’s a difference between horticulturally ripe, meaning the fruit is ready to eat, and physiologically ripe, with seeds that are ready to harvest. Some plants, like tomatoes, should be nearly rotted before their seeds are collected, they write. Others, like eggplants, naturally drop to the ground when their seeds are ready.
“Eggplants and squash have to go overripe,” says Brian Campbell, director of Conserving Arkansas’s Agricultural Heritage, a program at the University of Central Arkansas at Conway. “You basically have to waste the fruit in order to get the seeds from it.”
Use a gentle touch, or maybe not.
For plants with seed heads or delicate seedpods, once you’ve determined that your plants have gone to seed, it’s important to collect the heads or pods gingerly without breaking them.
Collecting the seeds from some plants is another matter. In some cases, it involves threshing, shaking, hulling or flailing the seedpod or dried fruit to loosen the individual seeds. These methods are typically used on less delicate edibles like corn, beans and peas.
For plants with fleshier fruits like tomatoes and cucumbers, the process is different. Seeds for these plants come encased in a gel sac, making extraction more difficult. “You have to place the whole thing in a little jar and add a little water,” Campbell says. “You have to allow that to sit for a few days and allow the gel sac that’s around the seeds to be broken down, essentially by mold.” Viable seeds will stay on the bottom of the jar. Less effective or damaged seeds will float.
Clean up and dry out.
Once you’ve collected your seeds, it’s important to clean and dry them for storage. Be careful not to pack them with any plant material that might lead to the growth of fungi or bacteria. Cleaning and drying the seeds will also help keep from attracting insects.
“Most times you have to go through a similar process with all seeds where you dry them out so that they have no moisture in them whatsoever before you set them aside for the next year,” Campbell says. Gough and Moore-Gough recommend several ways to dry seeds. The first involves putting them in a small room with a dehumidifier for a week You can also dry seeds by placing them on a cookie sheet in your oven for 24 hours on 100 degrees. Gough and Moore Gough recommend following up on any of these methods by putting them in a container with silica gel (drying agent) for a few weeks.
Given ’em the cold treatment
Finally, find the right place to store your seeds. Low temperatures are usually recommended. Most vegetable seeds can be stored in the freezer But really, any cool, dry place will do. Just remember that heat and moisture may allow pathogens to invade your seeds or can prompt them to open and sprout.
Wait for slowpokes.
Some plants, including cabbage, car rots and celery, take two years to produce seeds because the plants must pass through at least one winter to produce the stalks that host viable seeds.
HomeStyle, Pages 33 on 08/27/2011

